One of the most important parts of planning your wedding is creating a timeline that ensures everything runs smoothly—and your photography plays a huge role in that. The right wedding photography timeline helps you capture all the special moments while reducing stress and giving you time to enjoy your day.
But how do you create a photography timeline that makes the most of your time and light? I’ve put together a step-by-step guide to help you build a wedding photography schedule that ensures every important moment is captured beautifully.
Step 1: Start by Considering Sunset Time
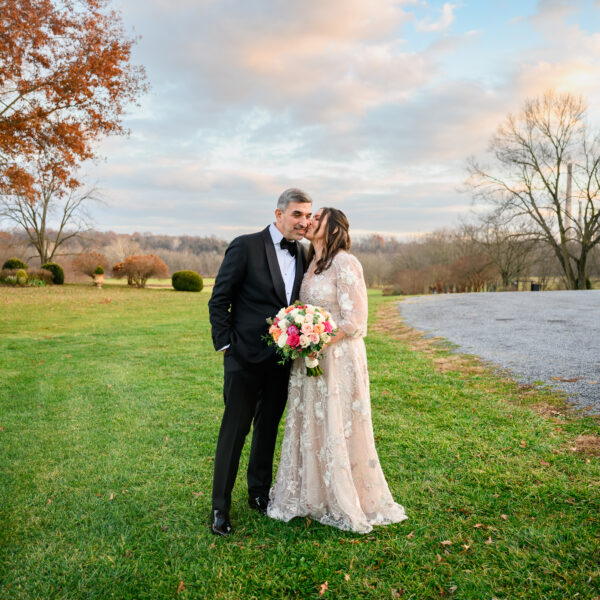
Before diving into the details of your day, the first thing to look at is the time of sunset. Why? Because the best light for your portraits is during golden hour, which occurs about an hour before sunset. Whether or not you choose to have your portraits during golden hour, knowing when the sun sets helps determine the flow of your entire day.
Once you know when the sun will set, you can plan your ceremony, couple portraits, and family photos around the best light. If possible, schedule some of your couple portraits during golden hour to take advantage of the soft, flattering light.
Step 2: Decide on a First Look or Aisle Reveal
One of the biggest decisions affecting your timeline is whether or not you’ll have a first look. A first look, where you and your partner see each other before the ceremony, allows for a more relaxed photo schedule. It gives you the chance to take some (or all) of your couple portraits and group photos before the ceremony, freeing up more time to enjoy the reception.
If you choose to wait and see each other for the first time during the aisle reveal, you’ll need to set aside time for couple portraits and family photos between the ceremony and reception. Deciding on a first look early on helps shape the structure of your photography timeline.
Step 3: Plan Out the Pre-Ceremony Photos
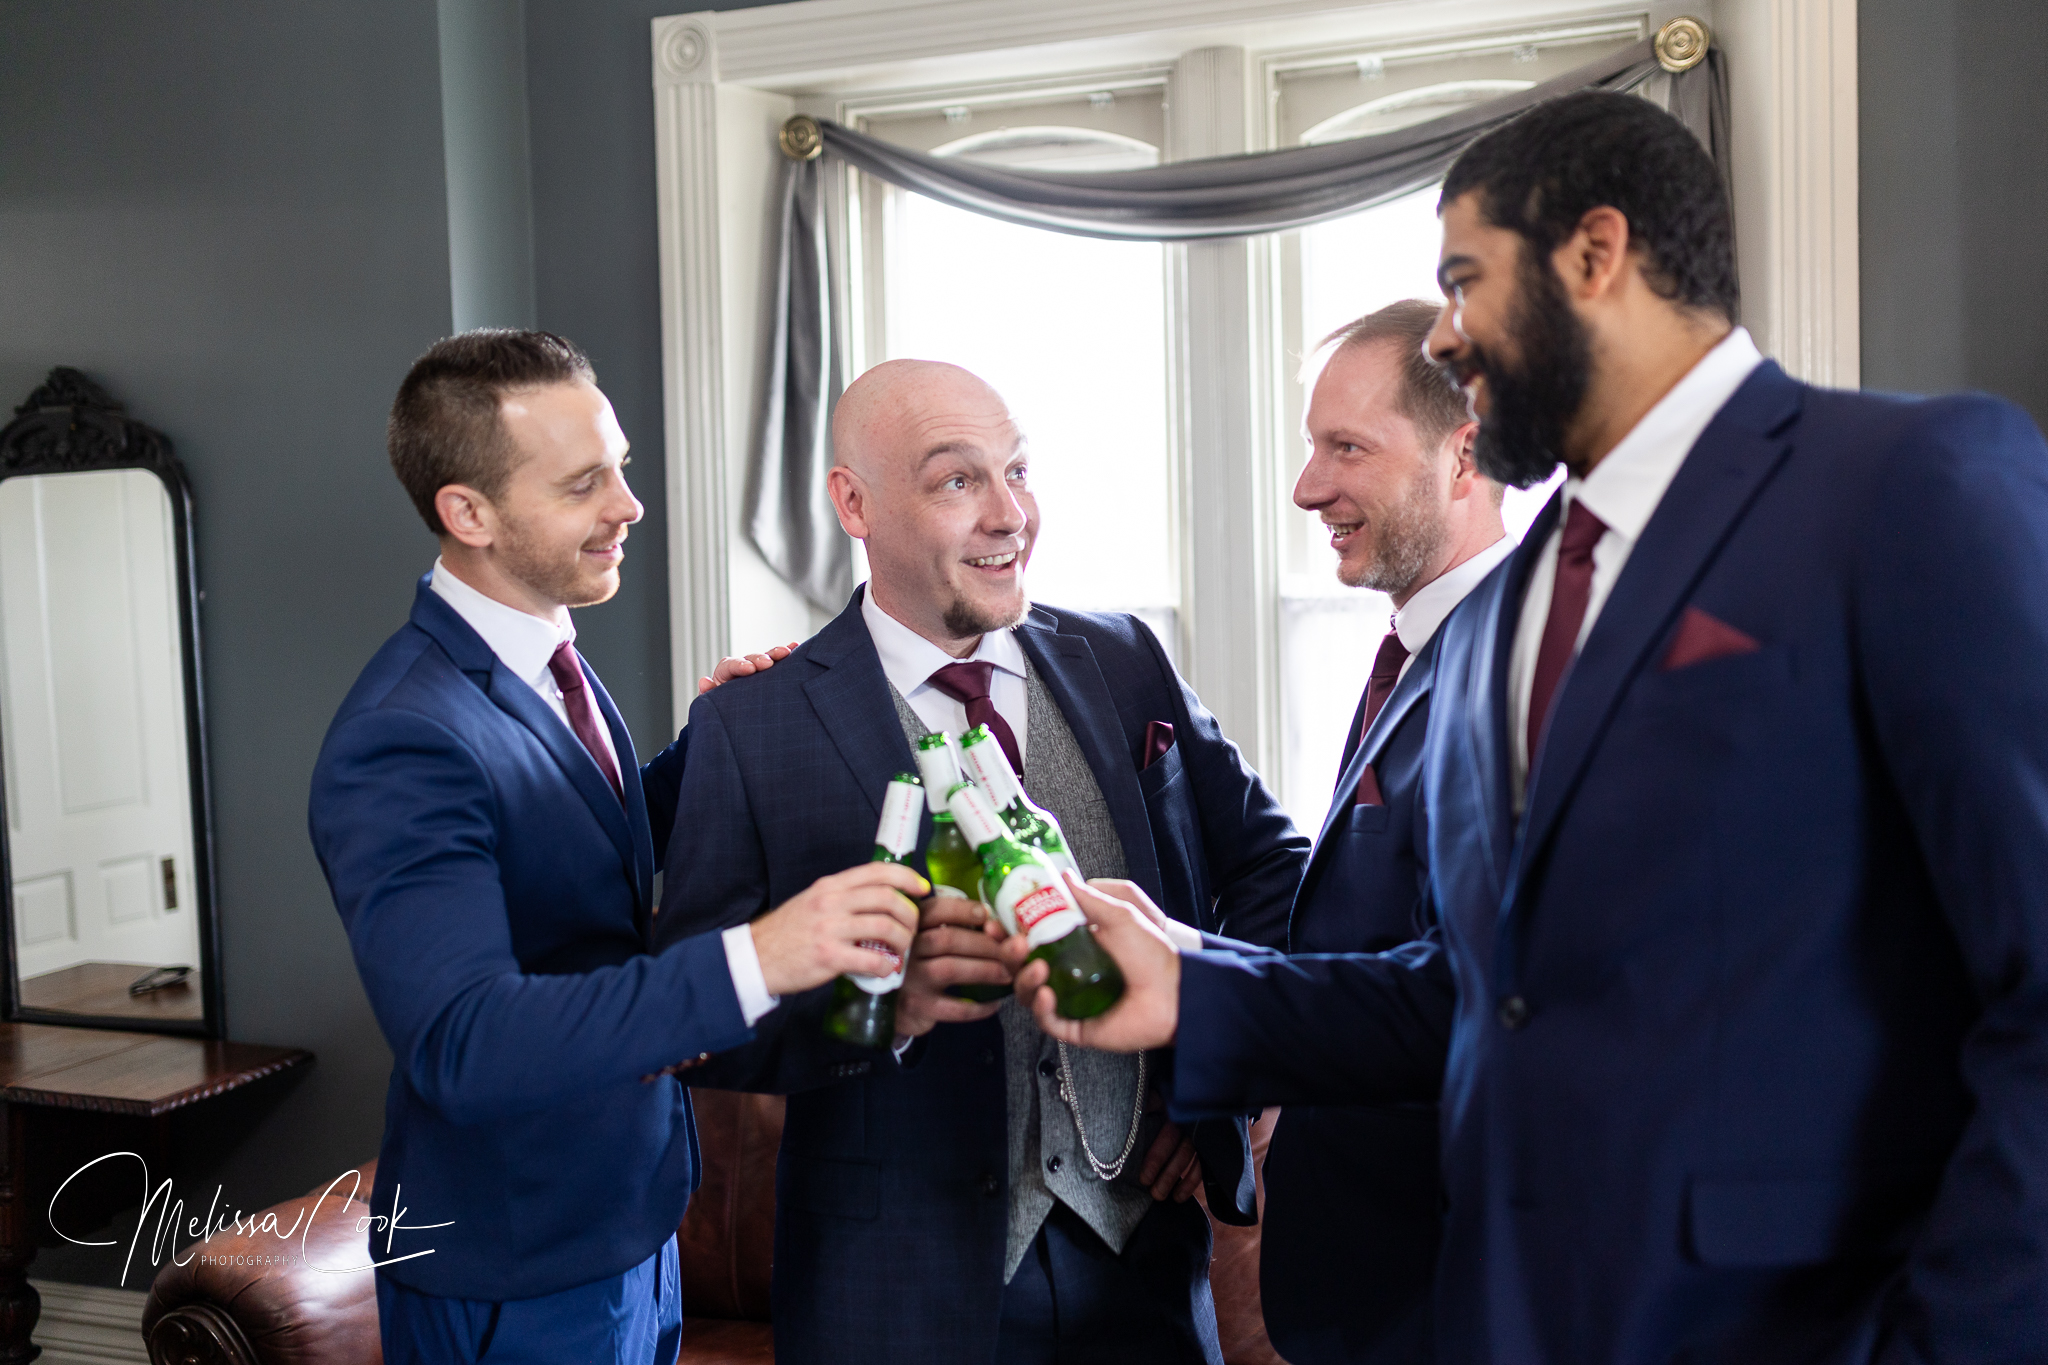
The pre-ceremony portion of your day is when a lot of great moments are captured—getting ready, candid moments with family and friends, and detailed shots of your wedding attire and accessories. Here’s a typical breakdown of what pre-ceremony photos might include:
- Getting Ready (60–90 minutes): This includes shots of the bridal party getting ready, detail shots of your dress, shoes, jewelry, invitations, and candid moments as you prepare for the big day.
- First Look (20–30 minutes): If you’re doing a first look, this is the time for you and your partner to have a quiet moment together before the ceremony. Your photographer will guide you through this for natural, emotional shots.
- Bridal Party Photos (30–45 minutes): Whether or not you’ve done a first look, bridal party photos typically take place before the ceremony. This includes individual shots of the bride and groom with their bridesmaids and groomsmen, as well as group shots.
Step 4: Plan Ceremony Photos
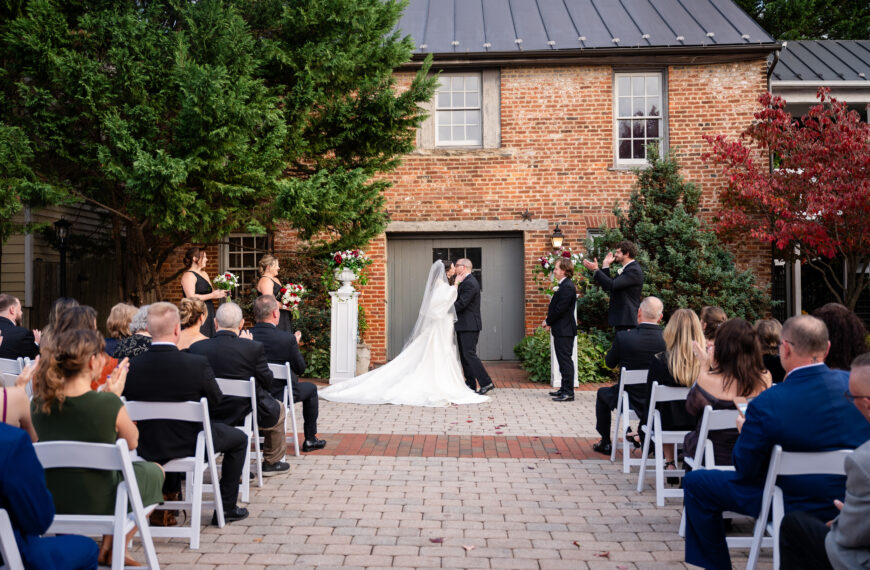
The ceremony is, of course, the most important part of your wedding day! Plan for your photographer to arrive at least 15–30 minutes before the ceremony to capture guests arriving, candid moments, and the details of your ceremony setup.
Your photographer will also capture key moments during the ceremony itself, including:
- The processional
- The exchange of vows and rings
- The first kiss
- The recessional
The length of your ceremony will depend on your traditions and preferences, but make sure to leave some buffer time for unexpected delays or additional moments you want to capture.
Step 5: Schedule Post-Ceremony Group Photos
After the ceremony, it’s time for family photos and any additional group shots you didn’t take before the ceremony. If you didn’t do a first look, this is also when you’ll take your couple portraits. Here’s how to break it down:
- Family Photos (20–30 minutes): To make this process smooth, create a list of the family members and group combinations you want to include. This ensures the photos are taken efficiently without missing anyone.
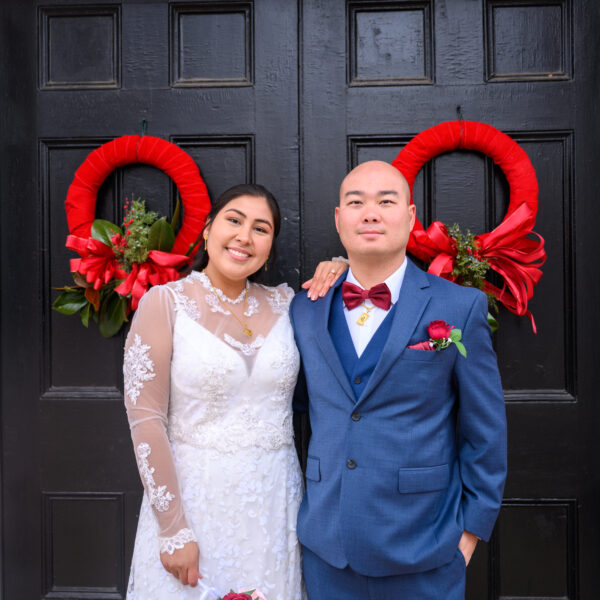
- Couple Portraits (20–40 minutes): If you didn’t do a first look, this is when you and your photographer will take some time away from the guests to capture those romantic, intimate portraits of just the two of you.
If you’ve already done a first look, this part of the day is more relaxed, and you may only need a few minutes for any additional photos.
Step 6: Plan Reception and Evening Photos
Once the reception begins, the formal part of the photography timeline relaxes, and your photographer will focus on capturing candid moments. Here are some key moments to schedule for the reception:
- Entrance and First Dance: Whether you’re entering the reception as newlyweds or kicking off with a first dance, these moments are perfect for emotional, joyful photos.
- Toasts and Speeches: Make sure your photographer knows when speeches or special moments are scheduled so they can capture reactions and emotions from you and your guests.
- Cake Cutting: If you’re planning a cake-cutting ceremony, schedule this for a specific time in your reception so your photographer is ready.
- Sunset or Nighttime Portraits: If you didn’t get a chance for golden hour photos earlier, or if you want a more dramatic look, consider sneaking away for a quick set of sunset or nighttime portraits.
Step 7: Build in Buffer Time
Weddings rarely run exactly according to schedule, and that’s perfectly normal! Build extra time into your timeline to accommodate any delays or spontaneous moments. Whether it’s traffic, a longer-than-expected speech, or just needing a few moments to breathe, having buffer time ensures that everything runs smoothly without feeling rushed.
Sample Wedding Photography Timeline
Here’s an example of how a typical wedding day photography timeline might look:
- 1:00 PM: Photographer arrives, detail shots and getting ready photos
- 2:30 PM: First look and couple portraits
- 3:00 PM: Bridal party photos
- 4:00 PM: Ceremony starts
- 4:30 PM: Family photos
- 5:00 PM: Couple portraits (if no first look)
- 6:00 PM: Reception entrance and first dance
- 6:30 PM: Speeches and toasts
- 7:00 PM: Sunset portraits (optional)
- 7:30 PM: Dinner and candid shots
- 8:30 PM: Cake cutting
- 9:00 PM: Dance floor opens, candid shots continue
This is just a general guide—every wedding is unique, and your photographer will work with you to adjust the timeline based on your specific needs and preferences.
Final Tips for a Stress-Free Photography Timeline
- Communicate with your photographer: Share your must-have moments and any specific requests so your photographer can plan accordingly.
- Consider lighting: Plan key moments like portraits around the best light of the day (golden hour is a favorite!).
- Stay flexible: Weddings are full of surprises, so don’t stress if things run behind schedule—your photographer will adapt and capture everything beautifully.
Creating a thoughtful wedding photography timeline allows you to capture every special moment while staying relaxed and enjoying your day. With the right plan in place, you’ll have gorgeous, timeless photos that tell the full story of your wedding day from start to finish.
